Part I: Jasperreports open source drag and drop reports for IRIS
Prepare a Sample application
1. For this tutorial we will use the iris-rest-api-template (https://openexchange.intersystems.com/package/iris-rest-api-template), adding some code to install JIRISReport support. Do these steps:
2. Clone the project on a local folder:
$ git clone https://github.com/intersystems-community/iris-rest-api-template.git3. Edit the file Dockerfile with this content:
ARG IMAGE=intersystemsdc/iris-community:2020.3.0.221.0-zpm
ARG IMAGE=intersystemsdc/iris-community
FROM $IMAGE

USER root

RUNecho ttf-mscorefonts-installer msttcorefonts/accepted-mscorefonts-eula select true | debconf-set-selections
RUN apt-get update && \
apt-get install ttf-mscorefonts-installer -y && \
apt-get install fontconfig -y
RUNfc-cache -v -f /usr/share/fonts
USER ${ISC_PACKAGE_MGRUSER}

WORKDIR /home/irisowner/dev
RUN --mount=type=bind,src=.,dst=. \
    iris start IRIS && \
	iris session IRIS < iris.script && \
    iris stop IRIS quietly
4. Run these command to build and run this sample:
docker compose build up -d5. Open the source code on VSCode (install ObjectScript and InterSystems extensions if you don't have it yet) and select on bottom docker:iris52773[USER] to open the options:
.png)
6. Select the option Open Terminal in Docker:
.png)
7. See the terminal:
.png)
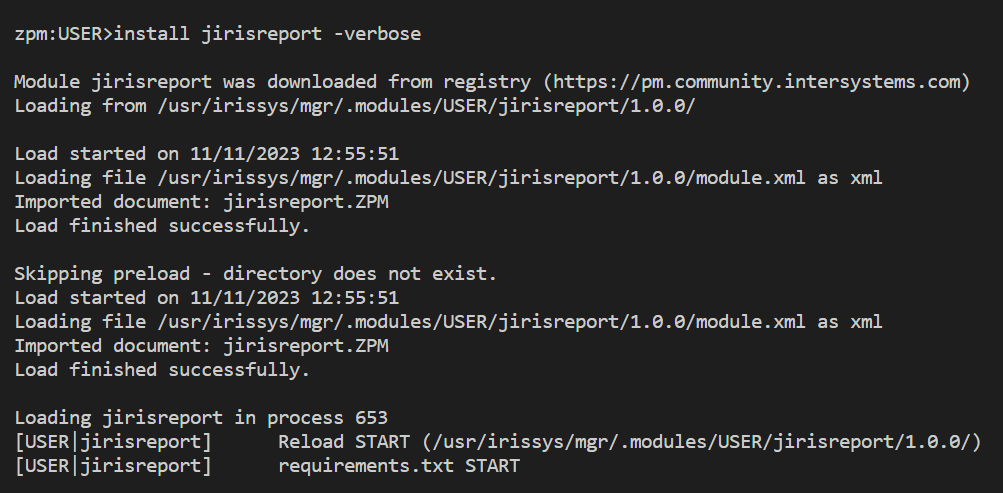
8. Type zpm to begin zpm shell:
.png)
9. Type, execute and wait for the installation (take some time):
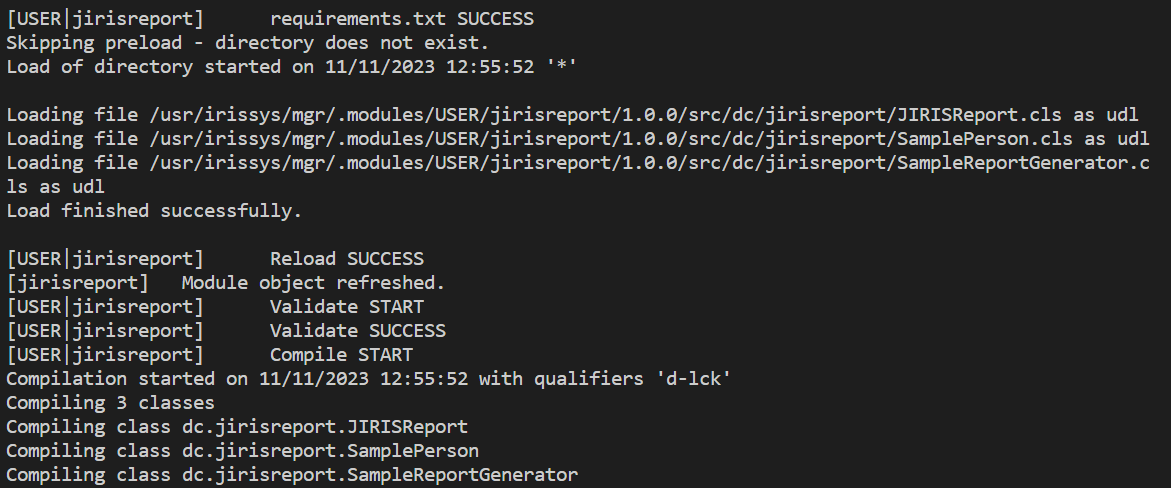
zpm:USER>install jirisreport -verbose10. See the installation results:

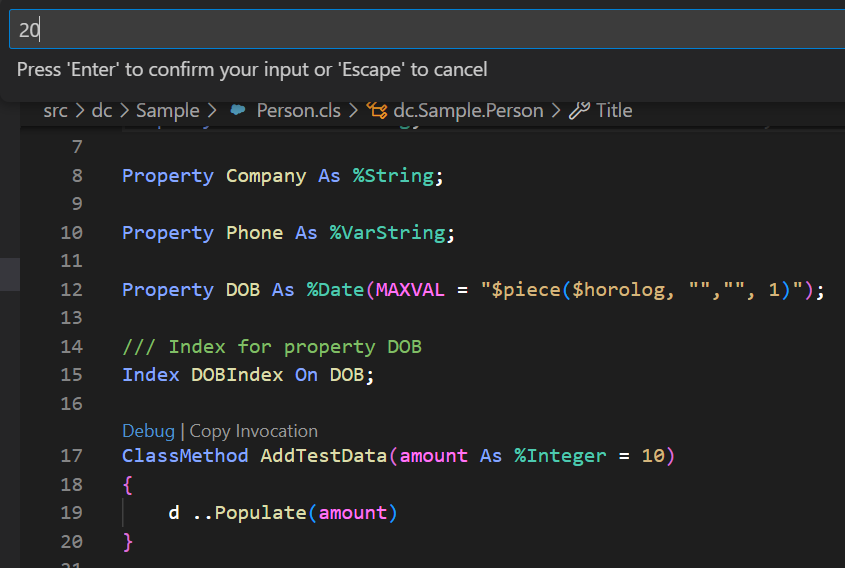
11. On VSCode go to Person.cls and execute the method AddTestData (click Debug) with 20 records:
.png)
12. Now, we have a database with sample data for your reports.
Download the IRIS JDBC driver
1. Download from https://github.com/intersystems-community/iris-driver-distribution/raw/… and save into any folder (in my case, D:\projetos\isc\jirisreport-api-sample).
Designing reports with JasperReports Studio
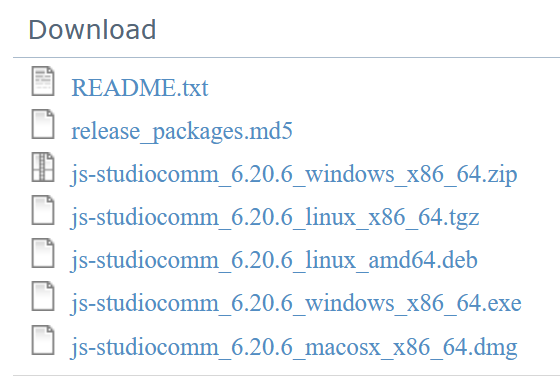
1. Go to https://community.jaspersoft.com/community-download and download Jaspersoft Studio CE:

2. Choose the right version for your OS:
3. Now, with Jasper Studio installed, execute it:

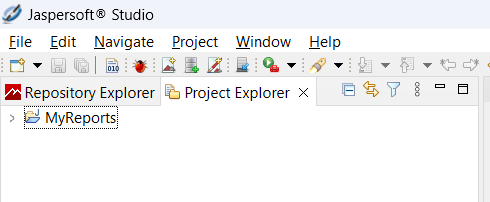
4. Now you can see Project Explorer:
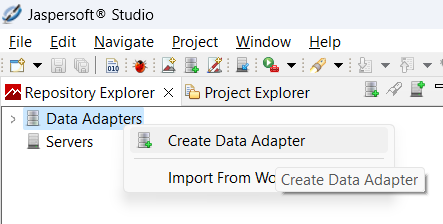
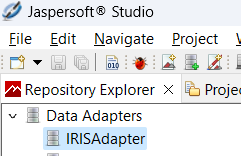
5. Click Repository Explorer > Click right Data Adapters > Create Data Adapter:
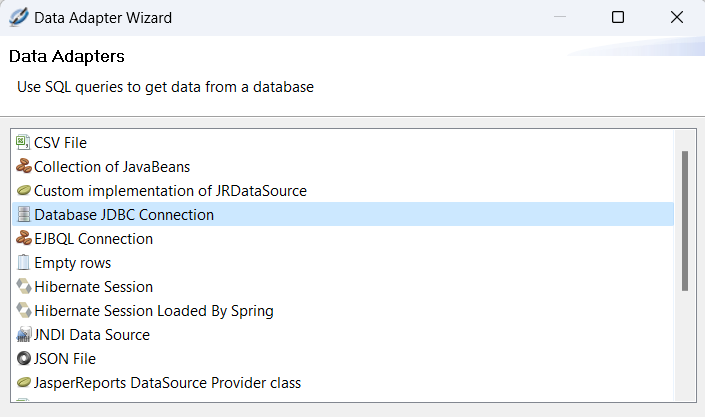
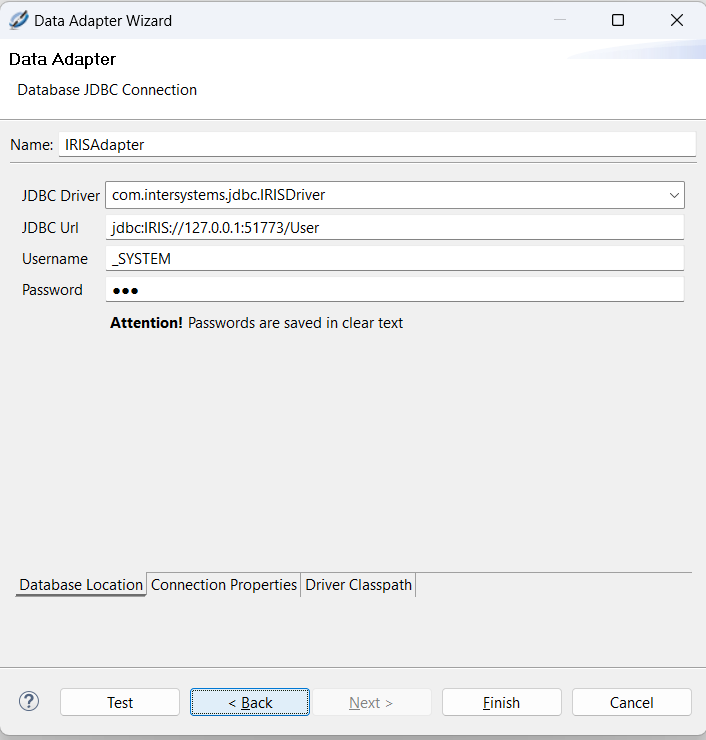
6. Select Database JDBC Connection and click Next:
7. Set following values for Database Location tab:
- Name: IRISAdapter
- JDBC Driver: com.intersystems.jdbc.IRISDriver
- JDBC Url: jdbc:IRIS://127.0.0.1:51773/User
- Username: _SYSTEM
- Password: SYS
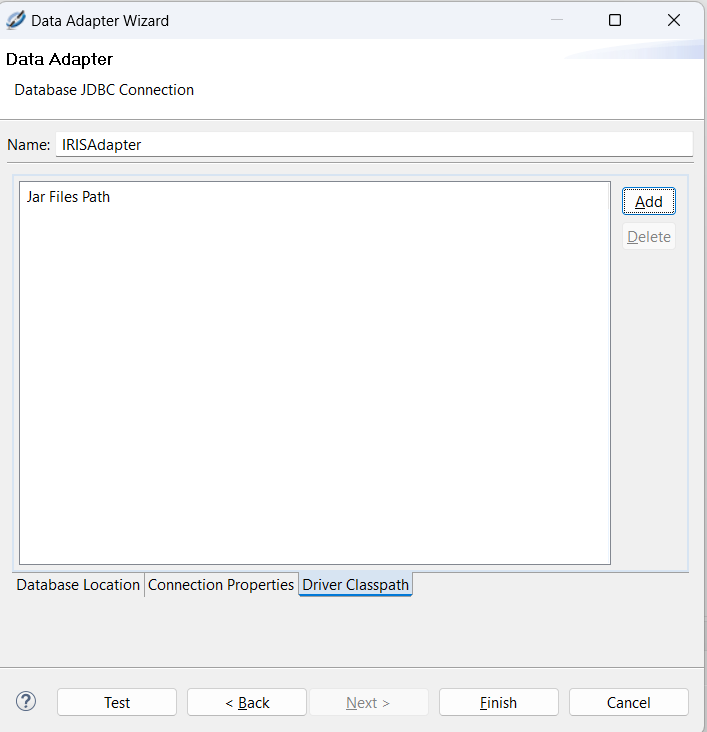
8. Now, select Driver Classpath tab:
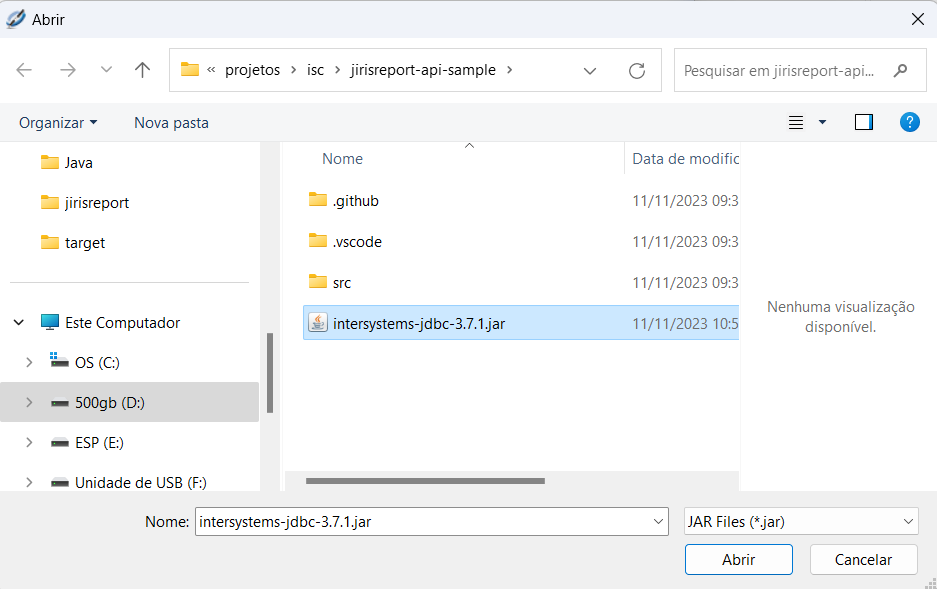
9. Click Add button and select the JDBC driver file location (from the folder chosen on section Download IRIS JDBC Driver):
10. Now, click Test:
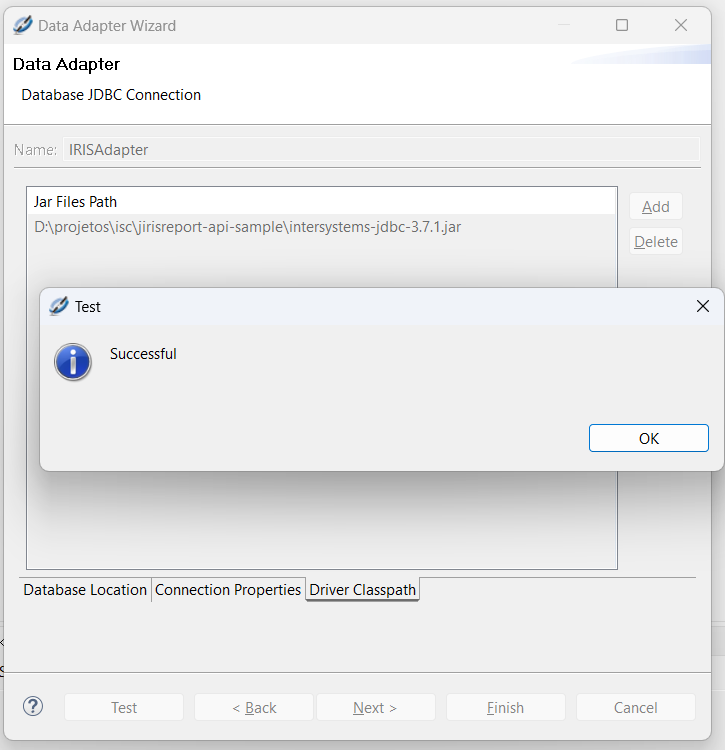
11. Click Finish. Now we have a Database connection for IRIS:
Design a new report
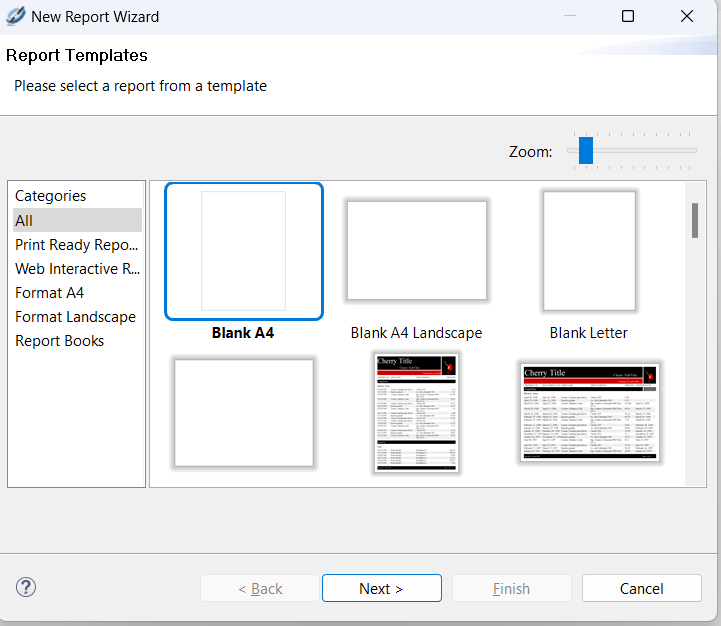
1. Go to File > New > Jasper Report:

2. Choose Blank A4 and click Next:
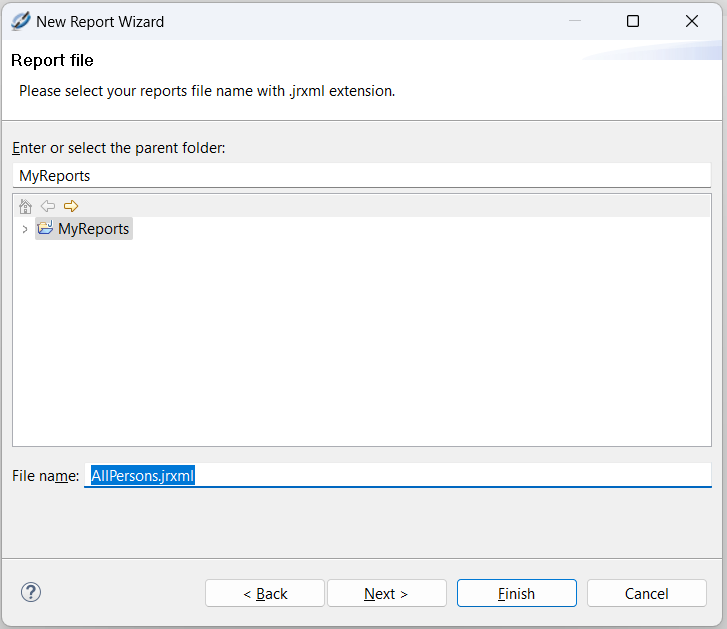
3. Set Report name AllPersons.jrxml and click Next:
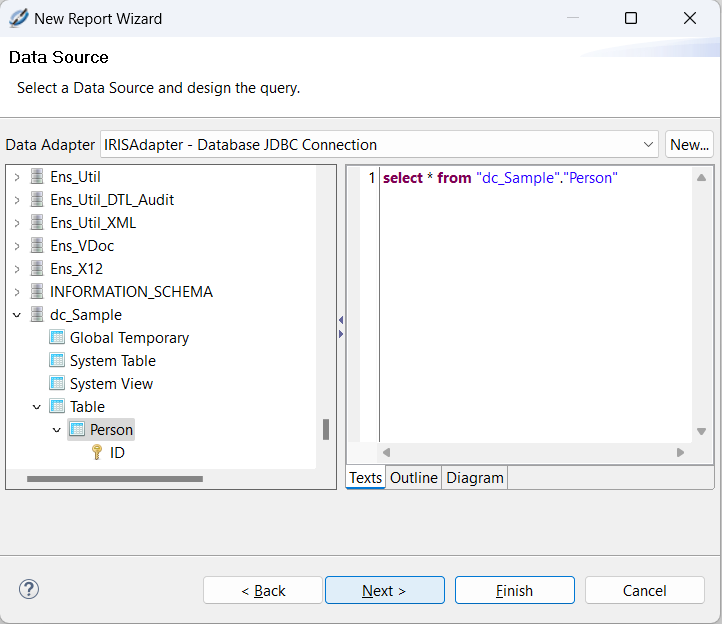
4. Select IRISAdapter and write:
select * from"dc_Sample"."Person"5. Click Next:
6. Select all fields, except ID field and click Next:

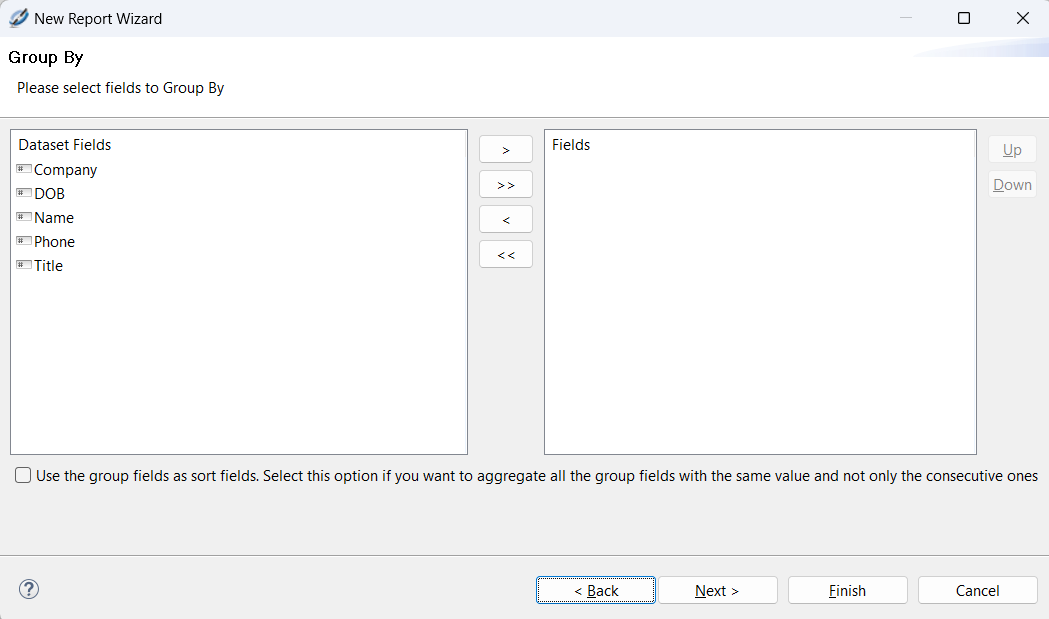
7. This report don’t have groups, click Next:
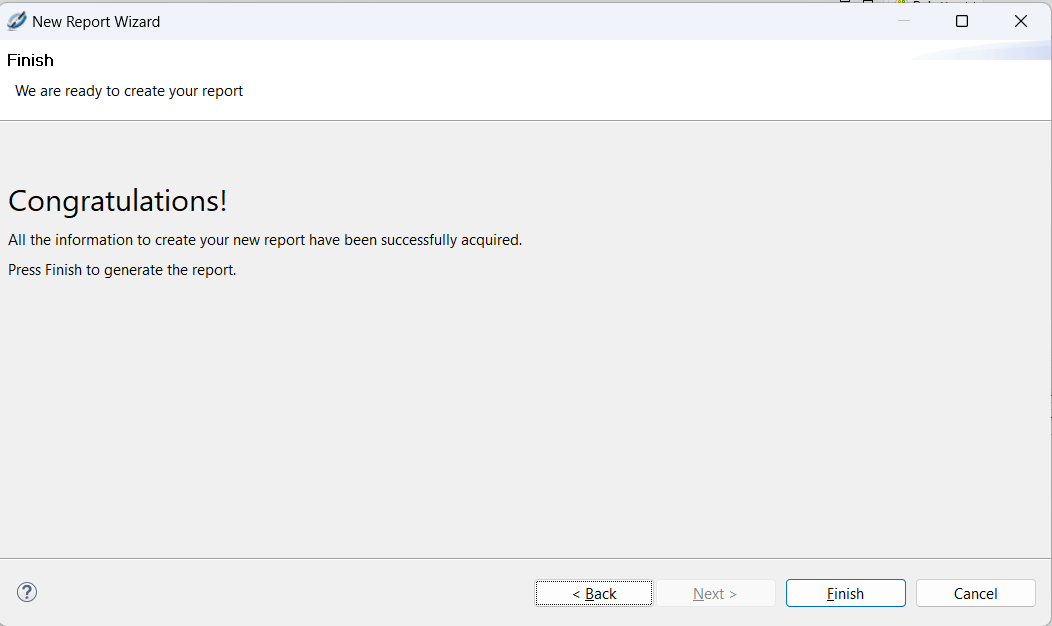
8. See Congratulations and click Finish:
9. Now we have an empty report, but connected to IRIS data:
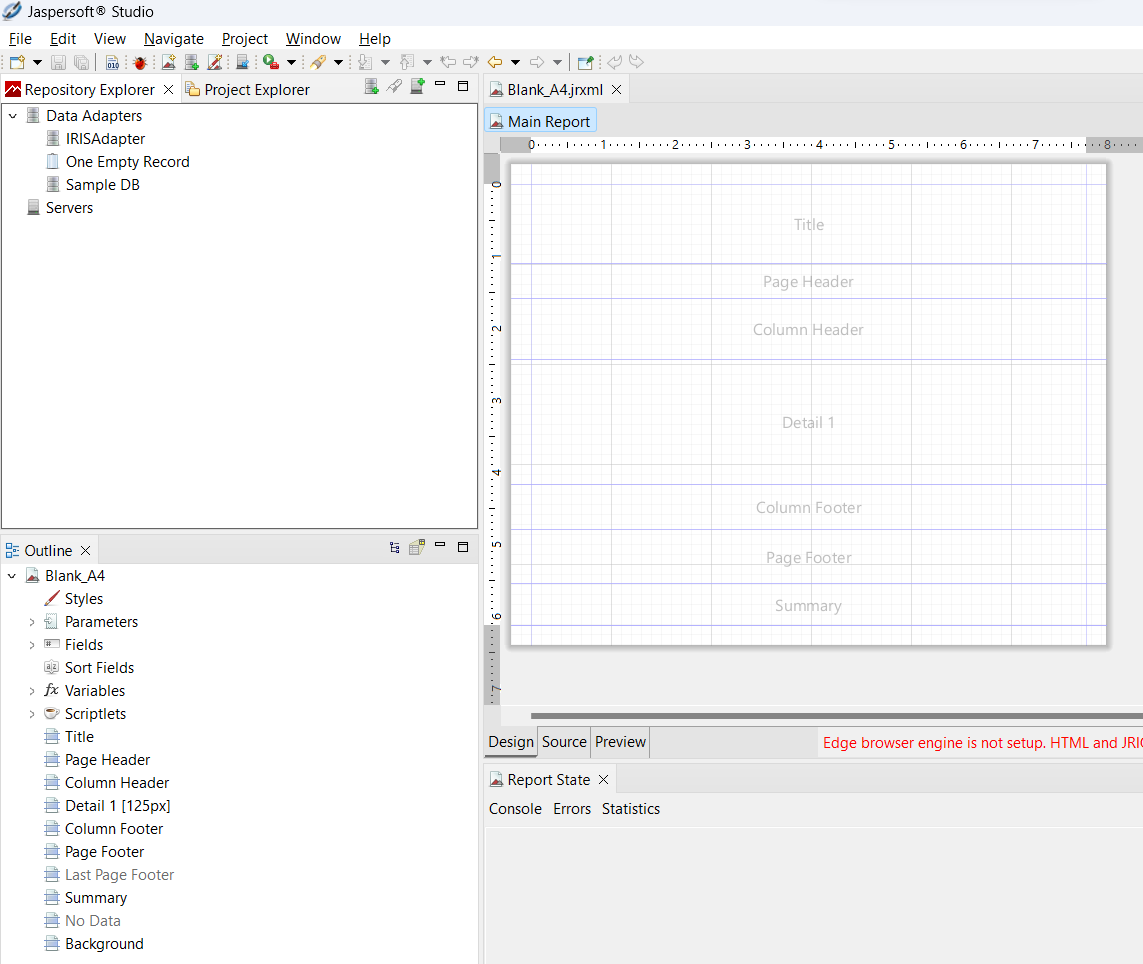
10. JasperReports works with band concept and we will work with these bands:
- Title: section for print report title on the first page only.
- Column Header: used for columnar reports, for print column title at new page.
- Detail 1: section for database data.
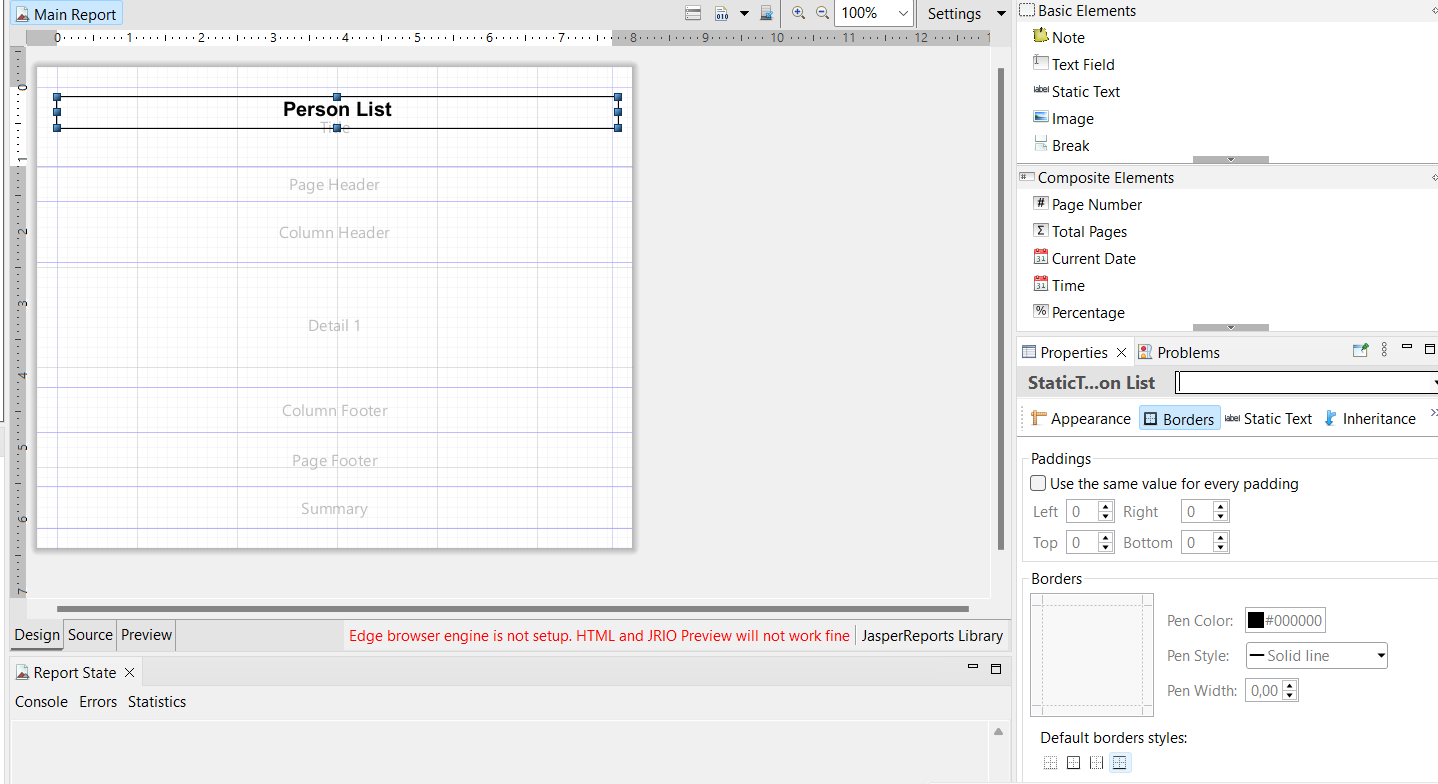
11. On Palette select Static Text and drag and drop for Title section:

12. Edit the text box with the value Person List, format and increase the font size (Arial, 20 Bold, Center).
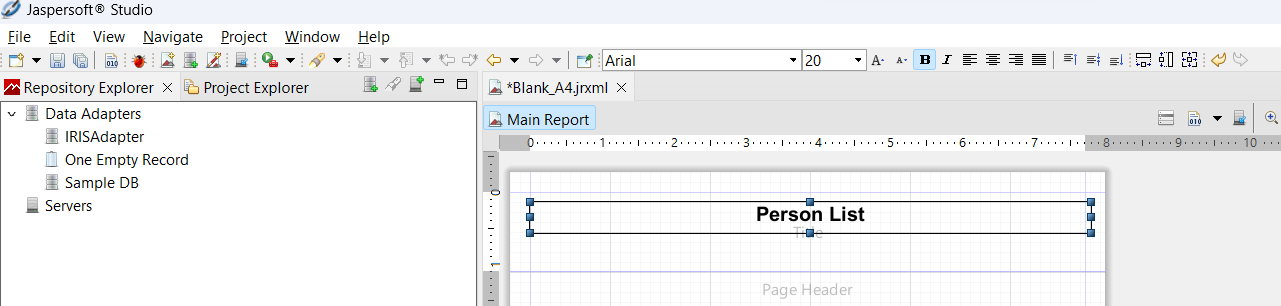
13. Select Borders tab and click borders for top and bottom:
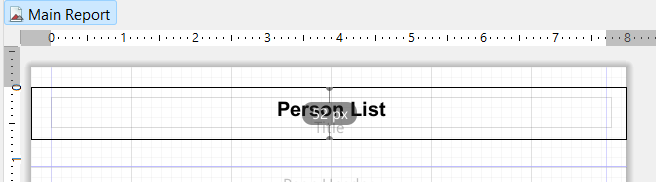
14. Adjust Title section to fill less space:
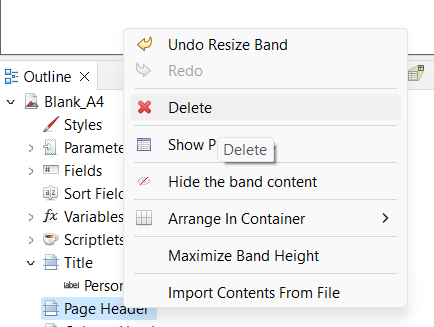
15. Click right Page Header and delete it:
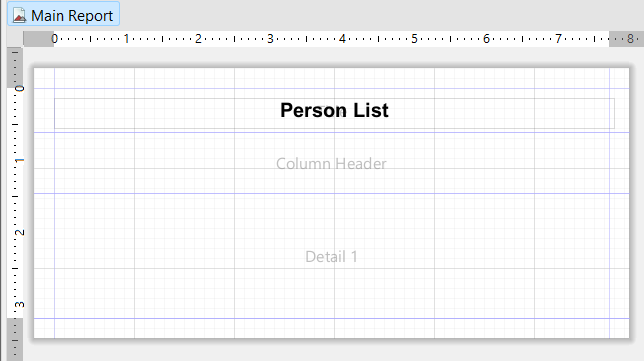
16. Do the same for bands Column Footer, Page Footer and Summary and now we have only 3 bands:
17. Expands Fields on Outline, select Name and drag and drop for Detail 1 section:
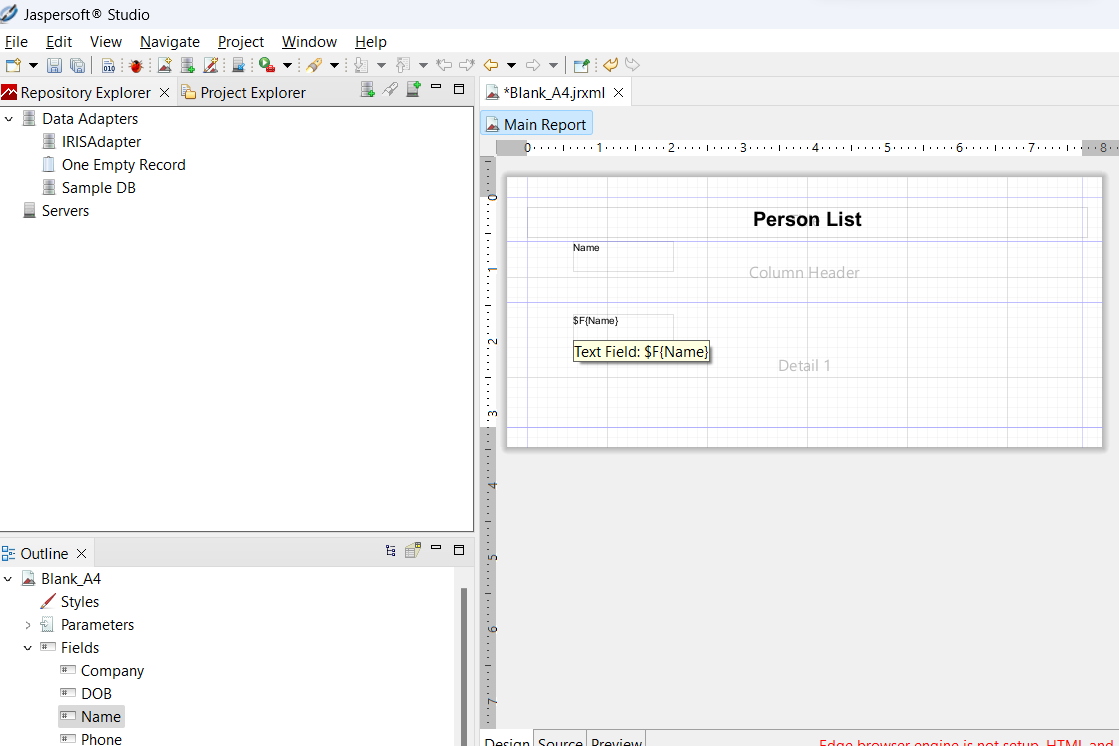
18. Adjust position for static text Name on Column Header and Name Field on Detail band:
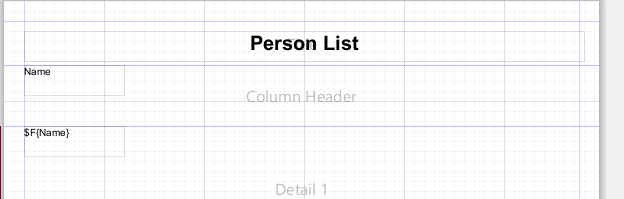
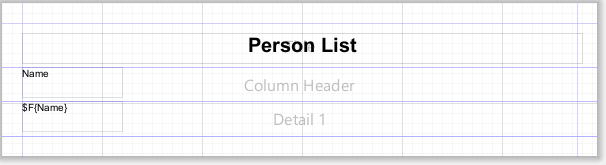
19. Now reduce Column Header and Detail height:
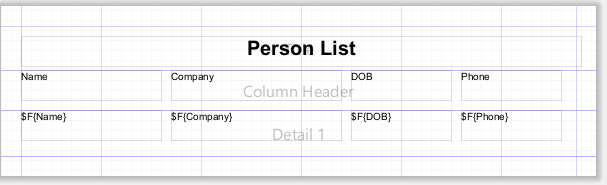
20. Drag and drop the other fields for Detail band and adjust them:
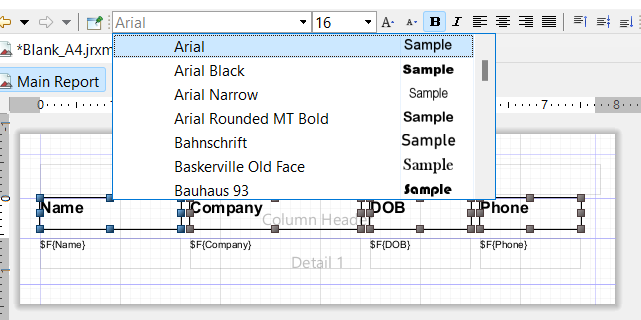
21. Now, format title labels (Arial, 14, bold):
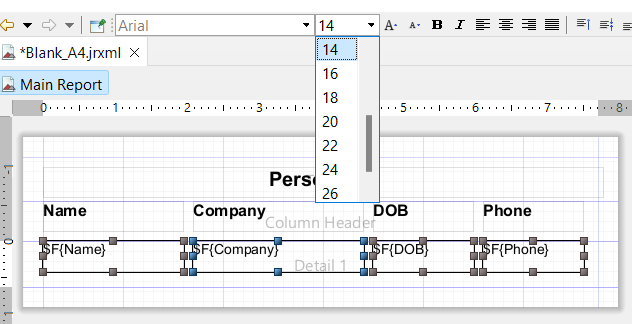
22. Format fields with Arial, 14:
23. Click Save button (or File > Save) on top and click Preview tab to see the results:

24. You have a report ready!
In the next article (part II), we will learn how to run this report from an IRIS report REST API.
Comments
That's great! Many customers use Jasper reports and this example will be really helpful.
I agree with you, the JasperReports is very popular and now IRIS can use jasper to print reports with data from any database, including iris
Thank you very much @Yuri Marx for implementing the idea from the InterSystems Ideas! 👏
Run Jasperreports from ObjectScript and IRIS Adapter
And congratulations on your 4th entry to the Ideas Portal Hall of Fame! 👏
Thanks!
Hi Yuri,
Your video is available on InterSystems Developers YouTube:
⏯️JIRISReport - Jasper Reports on InterSystems IRIS
Please enjoy!
Thanks, enjoy it